Private Agents
Private agents provide a way to connect your flows to resources in private networks.
Overview
Section titled “Overview”Agents are responsible for running JavaScript expressions from flow blocks and app-specific code. They connect to the Flows gateway through a websocket connection and run the code in isolation via Node.js runtimes. An agent pool can be assigned to an app installation so its logic will be executed on agents connected to that pool.
By default, flows run on the Public Agent Pool, whose agents can only reach public endpoints. When your flows need to reach resources in a private network (e.g., a database, a private API), create a Private Agent Pool and run agents in your own infrastructure.
You can assign a private agent pool to an app installation so the app’s lifecycle code and any blocks it defines will run on agents from that pool. For narrower use cases like hitting a single private endpoint, the core HTTP Request block can be configured to use a private agent pool.
Creating a private pool
Section titled “Creating a private pool”Private agent pools are organization-scoped and must be explicitly exposed to each project that needs them. This keeps private network access off by default and scoped to the projects and teams that require it.
You must be an organization admin to create and edit private agent pools.
- Go to Organization → Agent Pools → Create. Give the pool a name that
identifies which environment it serves (for example,
production-vpcorstaging-eu). - Open the pool and add the projects that should be allowed to use it. Until a project is on this list, the pool won’t appear in that project’s pool dropdowns.
- Copy the ID and token and store them somewhere safe. The token is shown once, at creation time. Both the ID and token are needed by every agent that connects to this pool.
The pool detail page shows how many agents are currently connected. Use this to confirm your agents connected successfully once you start them.
Attaching the pool to an app installation
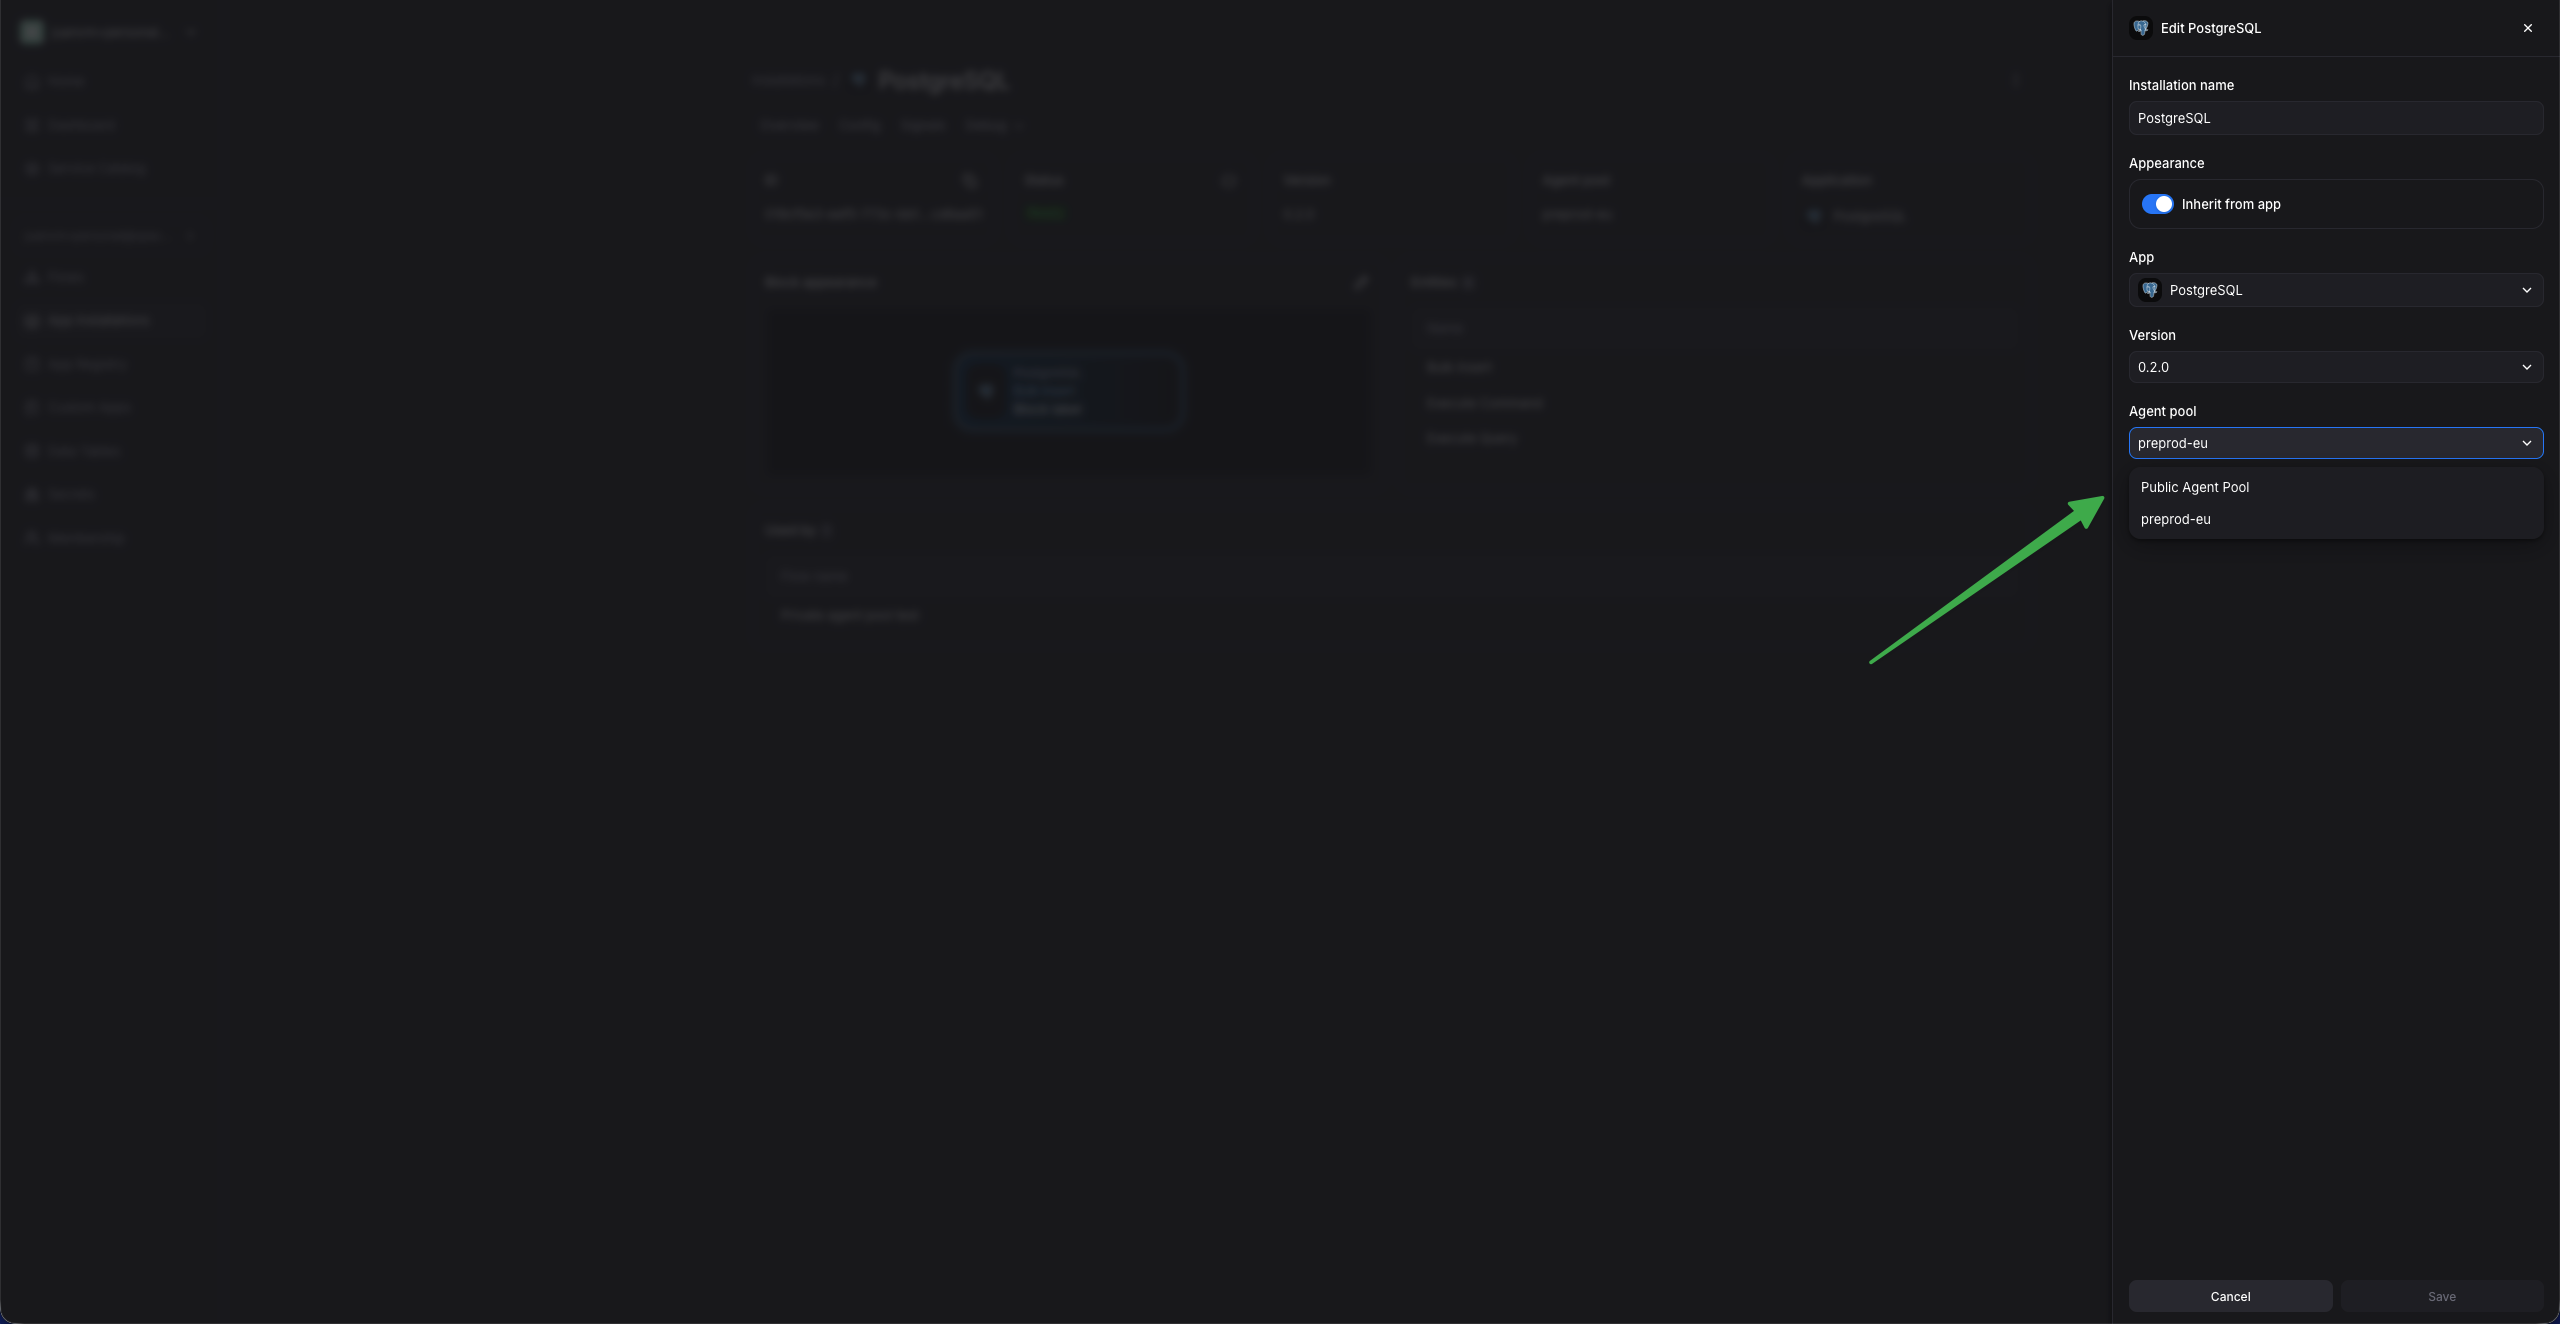
Section titled “Attaching the pool to an app installation”The PostgreSQL app is used here to illustrate how to configure an app installation to use your private agent pool.
-
Install the PostgreSQL app in a project that has access to the private agent pool.
-
Set the installation’s Agent Pool field to your private pool.
-
Fill in the connection details your agents will need to connect to the database — the host must be reachable by your agents.
-
Save the configuration. The installation will transition from “In Progress” to “Ready” when an agent connected to the pool executes the app’s lifecycle handler.
Running private agents
Section titled “Running private agents”Once you have created a private agent pool and stored its ID and token, you can connect one or more agents to it. The following guides cover common use cases for running your own agents.
Docker
Section titled “Docker”You can run an agent in a container using the public agent image. This is especially useful for testing private agents in your local environment.
Run the container with the following commands:
export FLOWS_AGENT_POOL_ID=<from the pool page>export FLOWS_AGENT_POOL_TOKEN=<copied at pool creation>
# Set this to your tenant's region: useflows.eu or useflows.us.export FLOWS_TENANT_DOMAIN=useflows.eu
# The agent mounts this directory into each runtime container it spawns.# The host's Docker daemon resolves the mount, so the same absolute path# must exist on the host and inside the agent container.export AGENT_MOUNTS_DIR=/tmp/flows-agent-mountsmkdir -p $AGENT_MOUNTS_DIR
# FLOWS_EXECUTOR=docker tells the agent to run each runtime as a sibling# container on the host's Docker daemon. The docker.sock mount is how the# agent reaches that daemon to start those containers.docker run \  --name spaceflows-agent \  --entrypoint /usr/bin/agent \  -e FLOWS_GATEWAY_ENDPOINT=https://gateway.$FLOWS_TENANT_DOMAIN \  -e FLOWS_ENDPOINT=https://$FLOWS_TENANT_DOMAIN \  -e FLOWS_AGENT_POOL_ID=$FLOWS_AGENT_POOL_ID \  -e FLOWS_AGENT_POOL_TOKEN=$FLOWS_AGENT_POOL_TOKEN \  -e FLOWS_EXECUTOR=docker \  -e FLOWS_DOCKER_MOUNTS_TEMPDIR=$AGENT_MOUNTS_DIR \  -v /var/run/docker.sock:/var/run/docker.sock \  -v $AGENT_MOUNTS_DIR:$AGENT_MOUNTS_DIR \  public.ecr.aws/w5z2f6e8/spacelift-flows-agent:agent-latest
Once the agent is running, the container logs should show a Connected to the server line within a few seconds, and the pool’s active agent count in the UI
should go up by 1.
On Linux, the agent runs as a non-root user (uid 1983), while
/var/run/docker.sock is typically owned by root:docker with mode 660 — so
the agent hits permission denied when talking to the daemon. Add
--group-add $(getent group docker | cut -d: -f3) to the docker run
command to give the container the host’s docker group GID, which grants
access to the socket.
EC2 Auto Scaling Group
Section titled “EC2 Auto Scaling Group”To deploy private agents through Infrastructure as Code, use the
terraform-aws-spacelift-flows-agentpool-ec2
module. It runs the public agent image on an Auto Scaling Group in an AWS
Virtual Private Cloud and subnets you specify, giving the agents network access
to the private resources in that network.
terraform {  required_providers {    aws = { source = "hashicorp/aws", version = "~> 6.0" }  }}
provider "aws" {  region = "eu-central-1"}
variable "agent_pool_id" { type = string }variable "agent_pool_token" {  type      = string  sensitive = true}
module "flows_agent_pool" {  source = "github.com/spacelift-io/terraform-aws-spacelift-flows-agentpool-ec2?ref=v0.4.0"
  agent_pool_id    = var.agent_pool_id  agent_pool_token = var.agent_pool_token
  # Set these to your tenant's region: useflows.eu or useflows.us.  backend_endpoint = "https://useflows.eu"  gateway_endpoint = "https://gateway.useflows.eu"
  agent_instance_type = "c7i.xlarge"  min_size            = 1  desired_capacity    = 1  max_size            = 3}
Avoid burstable instance families (t2, t3, t4g): agents frequently
start up new Node.js runtimes, which can exhaust the CPU credit balance and
throttle the instance. A general-purpose or compute-optimized instance such as
c7i.xlarge (the module’s default) is a safer starting point.
Pass the pool credentials as environment variables and deploy:
export TF_VAR_agent_pool_id=<from the pool page>export TF_VAR_agent_pool_token=<copied at pool creation>
tofu init && tofu apply   # or terraform init && terraform apply
The configuration above creates a new VPC. To deploy into an existing one
instead, set reuse_vpc_id and reuse_vpc_subnet_ids — the module then
skips VPC creation and places the ASG in the subnets you provide. Use
private subnets with NAT egress, since agents only need outbound HTTPS to
reach the Flows gateway.
The module also provisions the ASG, the IAM role, a Secrets Manager secret for the pool credentials, and CloudWatch Logs. See the module’s README for the full variable reference, including proxy support, private ECR mirroring, and custom CA certificates.
Runtime sandboxing with gVisor
Section titled “Runtime sandboxing with gVisor”The module runs each runtime container under gVisor
(runsc), which intercepts system calls in user space instead of passing
them to the host kernel. This provides safe sandboxing for app code and flow
evaluations.