Flow Navigation & Organization
Understanding Organizations, Projects, and Access Control
Section titled “Understanding Organizations, Projects, and Access Control”Spacelift Flows uses a hierarchical structure for access control and project management:
Organization (Top Level)├── Project A│ ├── Flow 1│ ├── Flow 2│ └── App Installations└── Project B ├── Flow 3 └── App InstallationsOrganizations
Section titled “Organizations”The top-level entity containing all projects, users, and teams.
Projects
Section titled “Projects”Containers within organizations that group related flows and app installations:
- Users get access on per-project basis
- Each project contains multiple flows
- Projects have their own app installations
- You can have multiple app installations for the same app (e.g., separate AWS installations for different regions)
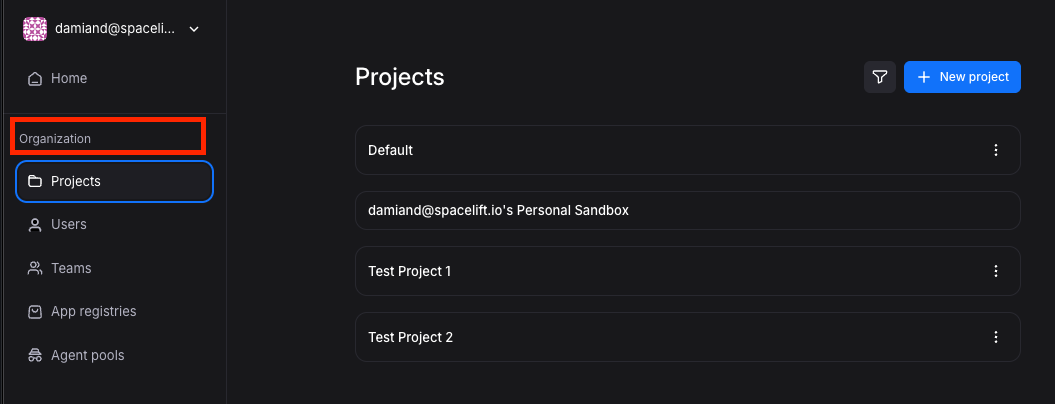
Projects Overview
Section titled “Projects Overview”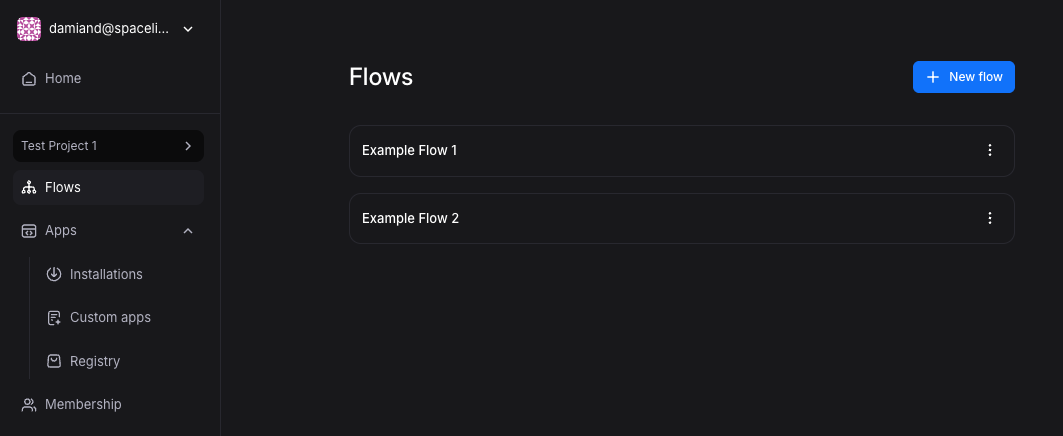
Installations Overview
Section titled “Installations Overview”
Registry Overview
Section titled “Registry Overview”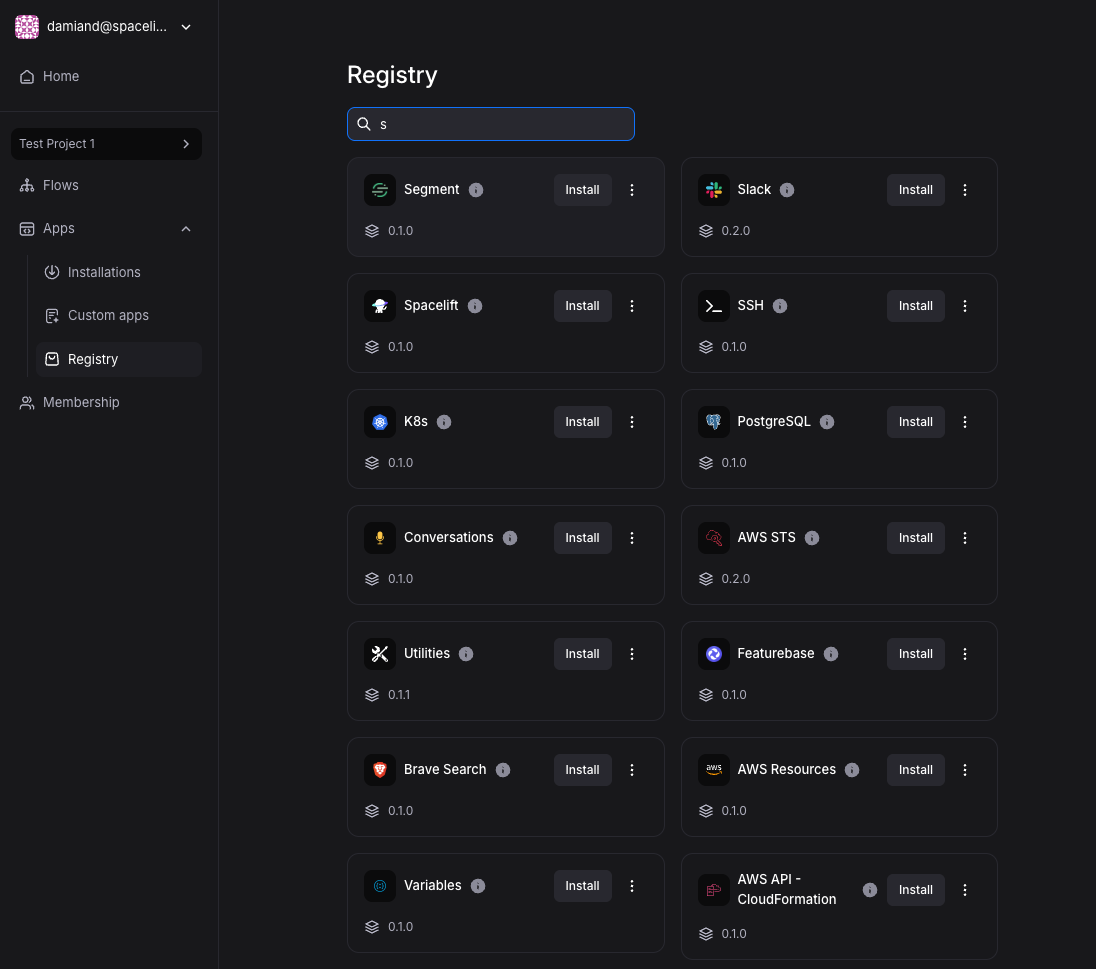
Access Control
Section titled “Access Control”Spacelift Flows uses two-tier access control:
Organization-Level Access
Section titled “Organization-Level Access”Users must first be added to the organization:
- Organization membership is required for platform access
- Users receive invitations to join
- No access to any resources without organization membership
Project-Level Permissions
Section titled “Project-Level Permissions”Once in the organization, users get specific project permissions:
- Control which team members access specific projects
- Isolate different environments or business units
- Manage permissions granularly across automation workflows
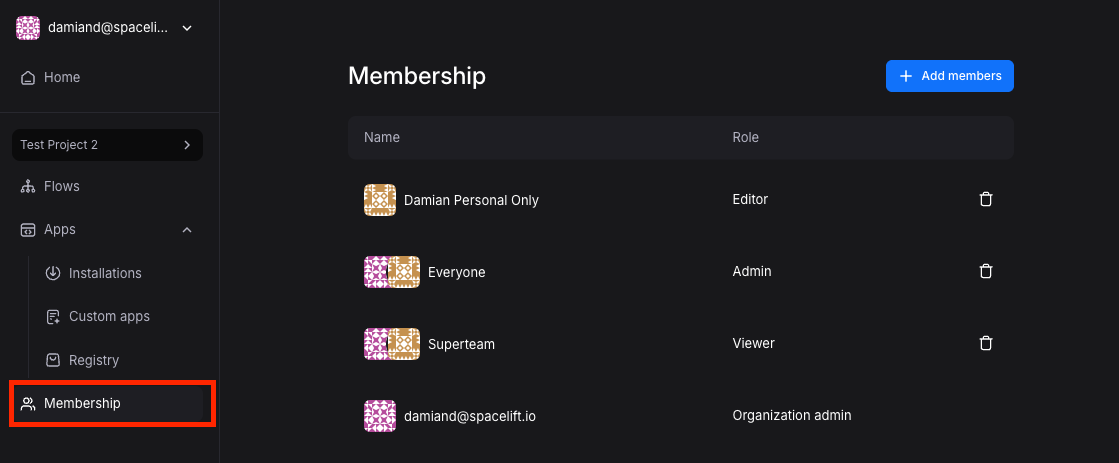
Role Descriptions
Section titled “Role Descriptions”- Viewer: Can view flows in a project
- Editor: Can edit flows in a project and manage app installations
- Admin: Can manage users in a project and create custom apps
- Organization Admin: Can manage the entire organization including projects, registry subscriptions, and agent pools
Adding New Users
Section titled “Adding New Users”Step 1: Ensure Organization Membership If user doesn’t exist in your organization:
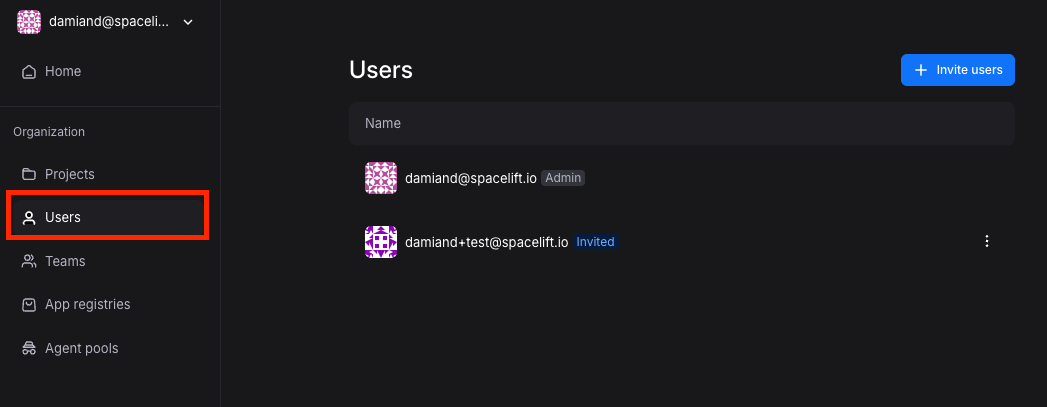
- Click the avatar in the top-left corner, then click ‘Organization’
- Go to ‘Users’ and click ’+ Invite Users’
- Enter user’s email address to send invitation
Step 2: Grant Project Access Once user is in the organization:
- Navigate to the specific project
- Click ‘Membership’ in left panel
- Click ’+ Add members’
- Select user(s) and assign role
- Confirm changes
Team Access
Section titled “Team Access”After users are added to the organization, you can organize them into teams for easier project access management:
- Click the avatar in the top-left corner, then click ‘Organization’
- Go to ‘Teams’ tab and click ’+ New team’
- Name the team and assign team users
- Once the team is created, you can add the entire team to any project the same way you would add individual users