OpenID Connect (OIDC)
By default, authentication in Flows uses magic links sent via email. With our OIDC integration you can instead have your team members log into Flows using the Single Sign-On solution of your choice.
Requirements
Section titled “Requirements”- You will need an OIDC-compliant identity provider (IdP) such as Okta.
- You will also need to be an organization admin in Flows in order to set up the integration.
- Finally, you will need to be able to prove ownership of your organization’s email domain(s), by setting a verification TXT record.
Setting Up OIDC
Section titled “Setting Up OIDC”Setting up your IdP
Section titled “Setting up your IdP”First, you will have to set up an OIDC application in your identity provider. The exact steps for this will vary depending on your provider. The OIDC callback URL you need to use is one of:
https://useflows.eu/api/auth/oidc/callbackhttps://useflows.us/api/auth/oidc/callbackor with the custom domain you may be using for a self-hosted Flows installation.
Creating the Authentication Provider in Flows
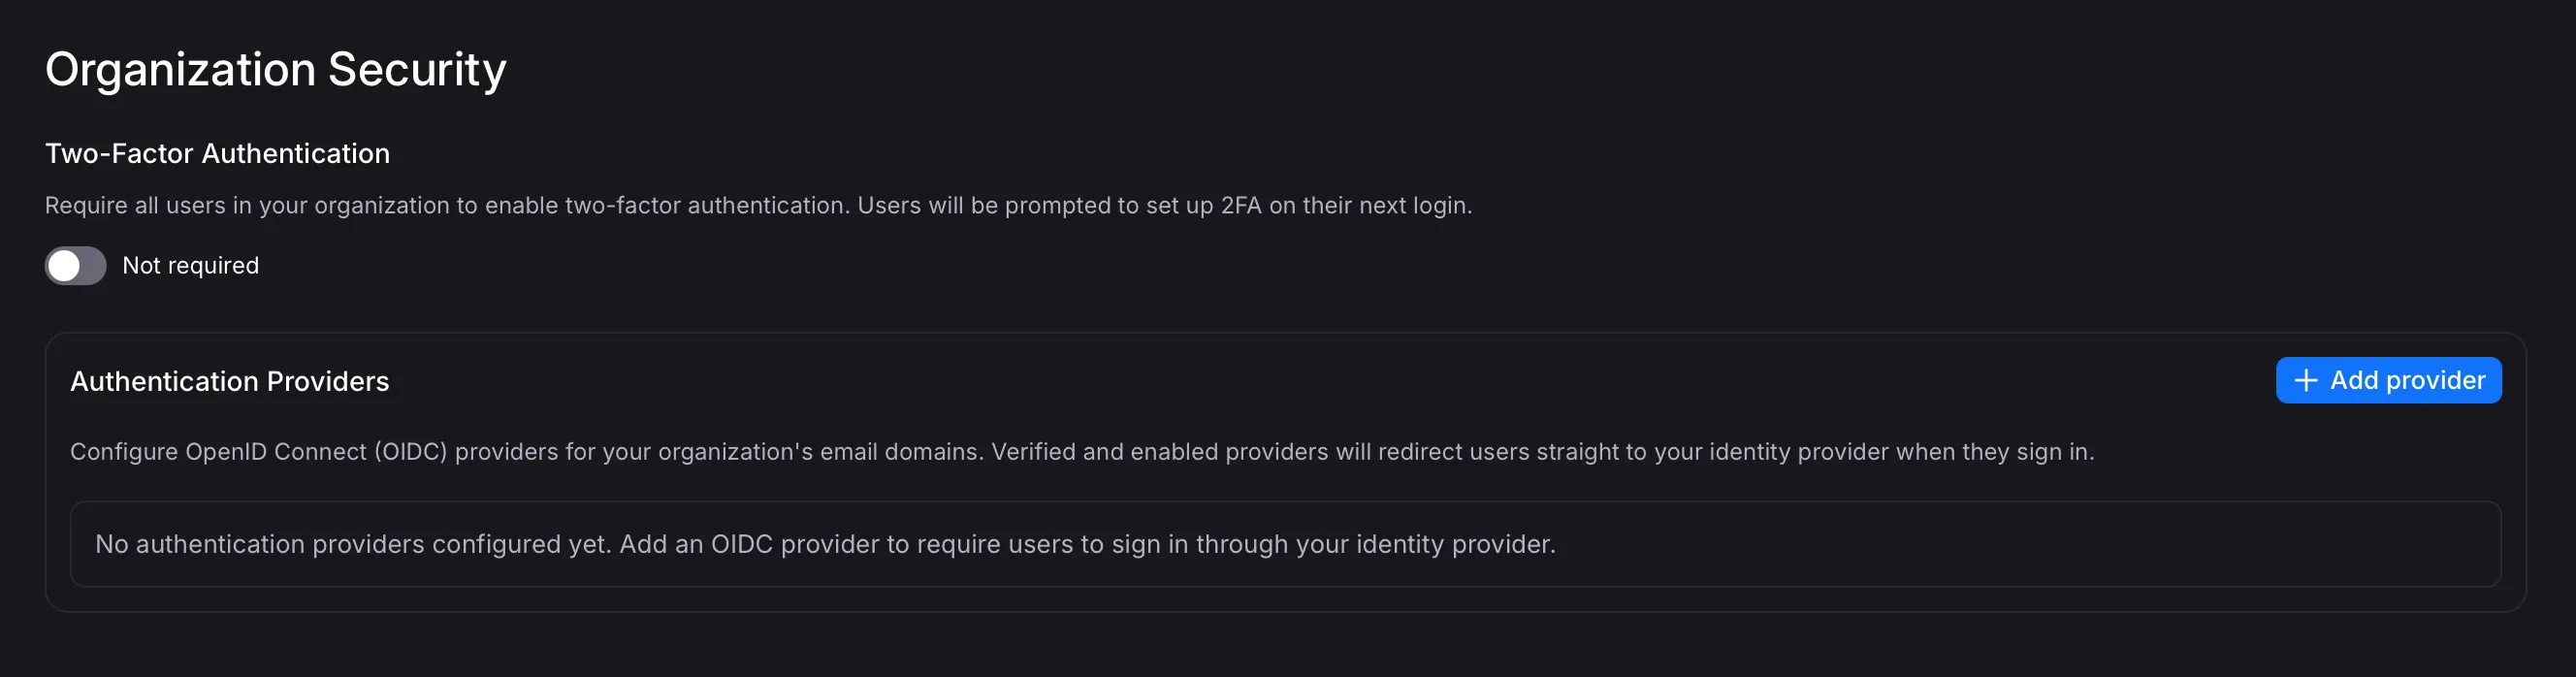
Section titled “Creating the Authentication Provider in Flows”Find the authentication provider settings by clicking your avatar in the upper-left corner, then selecting “Organization”, and clicking the “Security” tab in the left sidebar.
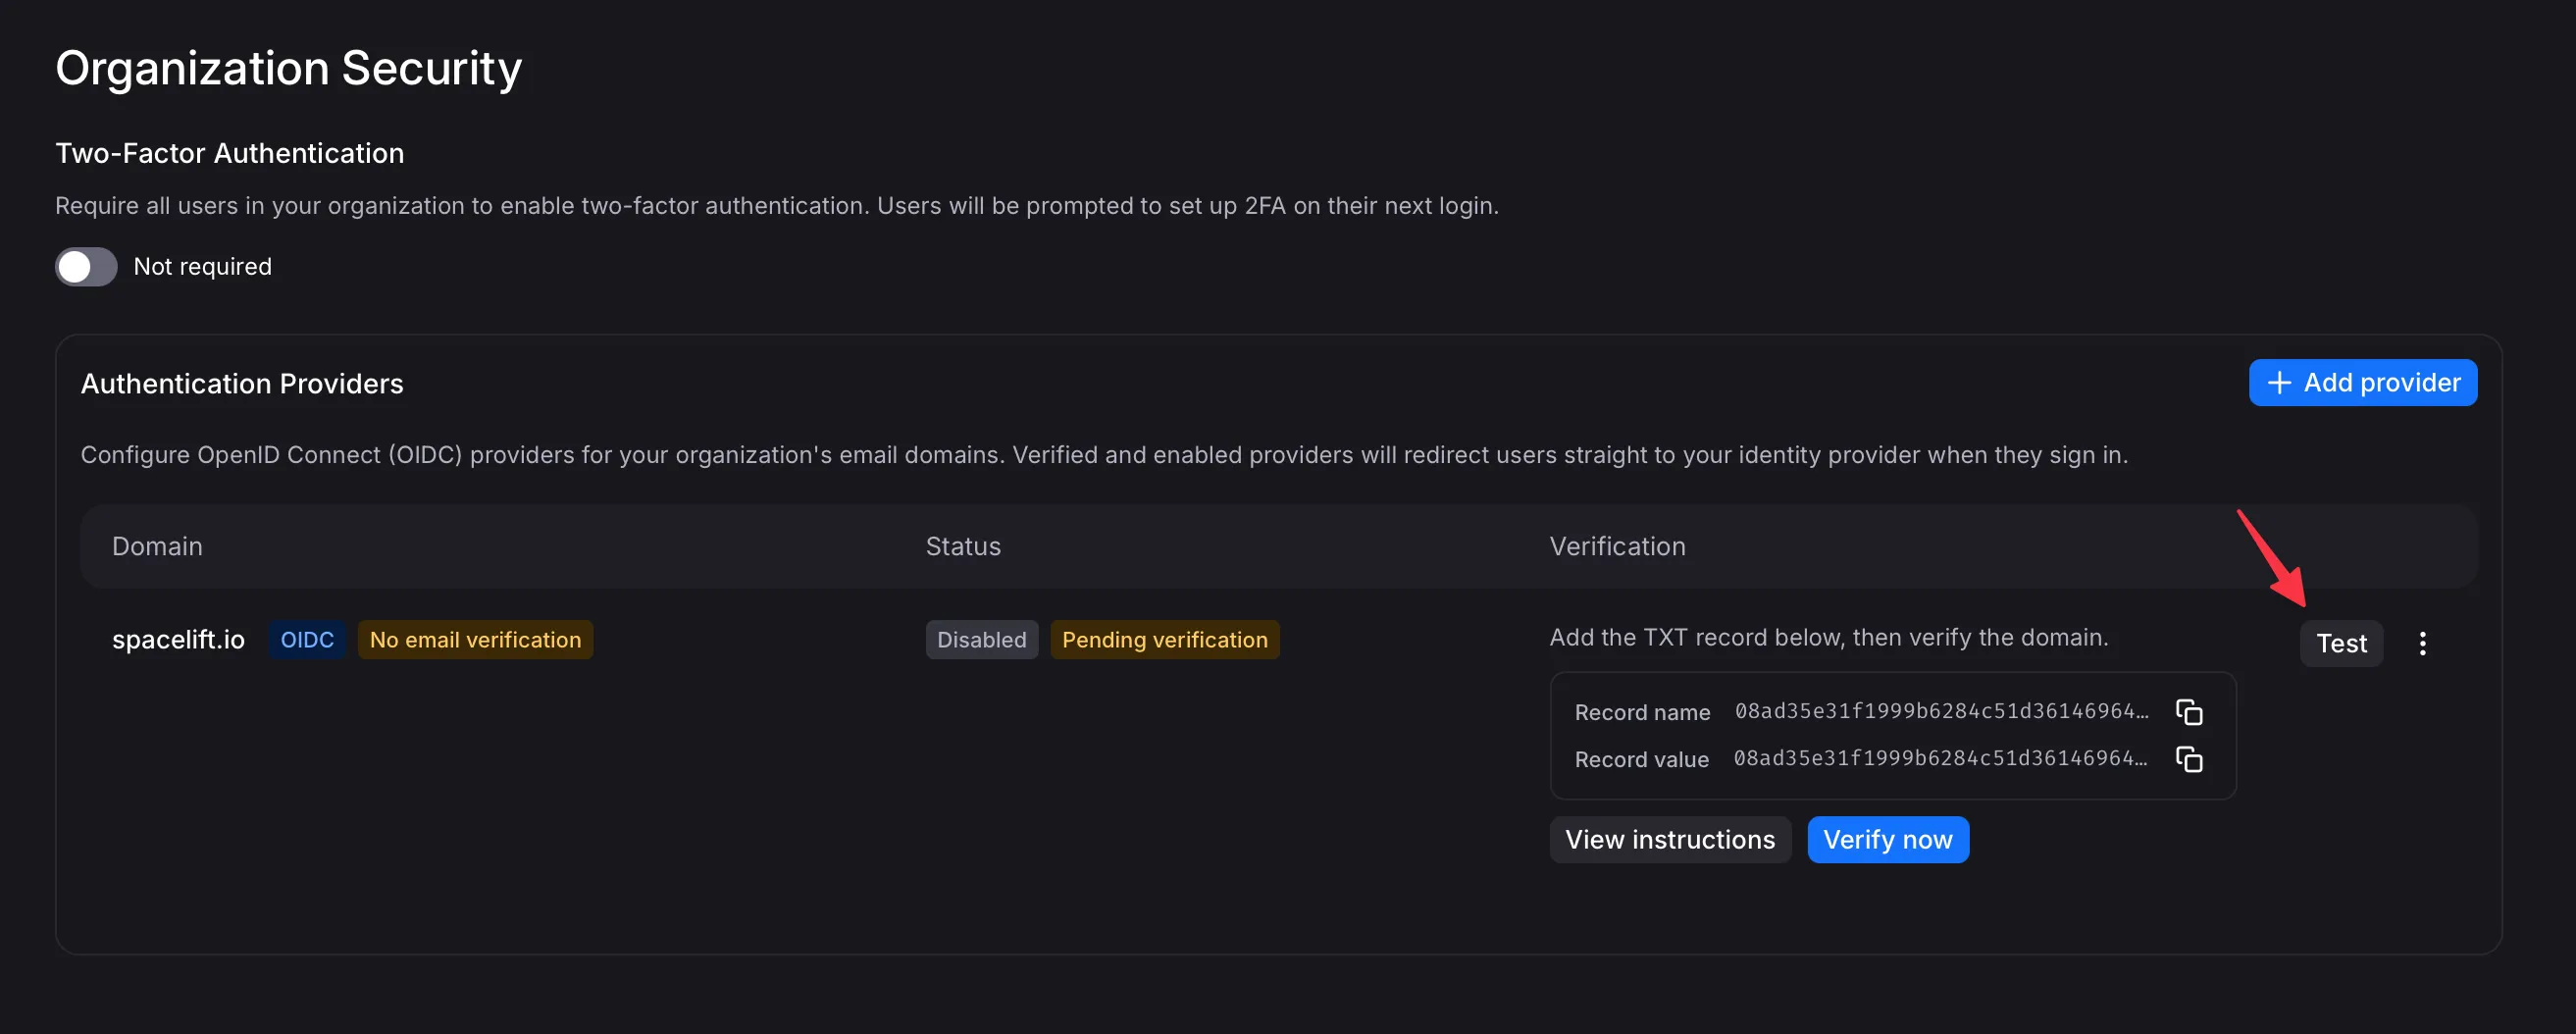
Once you click “Add provider”, fill out the email domain, issuer URL, client id and client secret. With most identity providers, you can then click the “Discover endpoints” button to automatically populate the remaining fields.
Finally, decide whether you want to:
- Allow user auto-provisioning: New users logging in via OIDC will automatically have an account created for them in Flows and be added to the “Everyone” team.
- Require verified email claim: Users will only be able to log in if their IdP OIDC token contains a verified email claim. Some providers may not set this claim by default.
Testing the Integration
Section titled “Testing the Integration”At this point, you can click the “test” button to go through an end-to-end login flow using your identity provider. This is to verify that you can still log in as yourself and not lock yourself out.
Verifying and enabling the Integration
Section titled “Verifying and enabling the Integration”Before enabling the integration, you will have to prove ownership of your organization’s email domain(s). This is done by adding a TXT record to your domain’s DNS settings. You can see it on the previous screenshot, and clicking “View instructions” will give you more details.
Once you add the relevant TXT record, click “Verify domain” in Flows. You may have to retry this a few times with some delay, as DNS changes may take some time to propagate.
Once the domain is verified, you can enable the OIDC integration. From that point on, users in your organization with email addresses matching the configured domain will be able to log in via OIDC.
It’s worth noting that the domain verification is a one-time process. Once verified, you don’t have to keep the TXT record in your DNS settings.
Disabling the Integration
Section titled “Disabling the Integration”You can disable the integration at any time from the same settings page. This will not delete any user accounts, and users will be able to log in again via magic link email.